Give Yourself a Home Pedicure: A Simple Step-by-Step Guide
TL;DR — Honestly, you can sort yourself out a salon-level pedicure at home in about twenty minutes. The process is just taking off old polish, soaking, trimming and filing your nails, dealing with hard skin, and then painting them properly. All you need are a few basic tools, most of which you have already.
Key takeaways
- You have to get all the old polish off first so your nails can actually breathe and you can see what you're working with. Essie.co.uk says this is non-negotiable.
- Snappynails-nashville.com reckons soaking for 10-15 minutes in warm water is the trick for softening skin and cuticles. Makes all the next bits easier.
- To stop ingrown toenails, you must clip straight across. Bergdpm.com is very firm on this point. Then just gently round the corners with a file.
- Use a foot file or pumice on damp skin, sticking mainly to the heels and balls of your feet.
- Don't skip the base coat! It stops your nails going yellow and helps the colour not chip off immediately.
Giving yourself a home pedicure is way simpler than people make out, and it saves a ridiculous amount of money over time. You can just sit in front of the telly and do it, and if you follow the steps, the results are genuinely as good as a salon. Takes about 20 minutes, a handful of tools, and you end up with soft, smooth, tidy feet. It's a proper little treat, especially after being on them all day.
This guide will take you through the whole thing, from the very beginning to the last top coat. We'll cover what actually goes in the foot soak, how to tackle hard skin without hurting yourself, and the right way to paint your toenails so they don't chip after a day. Even if you've never done it before, or you just want to get better at it, you'll be sorted for next time.

Gather your pedicure supplies
First off, get everything out and next to you before you even start. There's nothing worse than realizing your nail file is upstairs when you've got wet feet. Cosmopolitan.com has a decent list. You need: nail polish remover and cotton pads, a nail file and clippers, a cuticle pusher (an orange stick is fine), a foot file or pumice stone, a towel, a bowl for soaking, your polishes—that's a base coat, a colour, and a top coat—and some moisturiser. You really don't need anything fancy or expensive. Most of this is just from Boots or Superdrug.
Your DIY pedicure checklist
- Nail polish remover and cotton pads
- Nail clippers and a file
- Cuticle pusher or orange stick
- Foot file or pumice stone
- Large bowl or basin for soaking
- Towel
- Base coat, colour polish, and top coat
- Moisturiser or foot cream
Prep your nails and feet
Right, start with a clean slate. Soak a cotton pad in remover and scrub off any old colour from your toenails, even a faint hint. Essie.co.uk points out you have to do this. It lets you see the actual state of your nails and makes sure the new stuff sticks. Next, just wash your feet quickly with soap and water to get rid of any grime or lotion from the day. Pat them dry properly, especially between the toes. You don't want dampness hanging around, that's how you get fungal problems.
Create the perfect foot soak
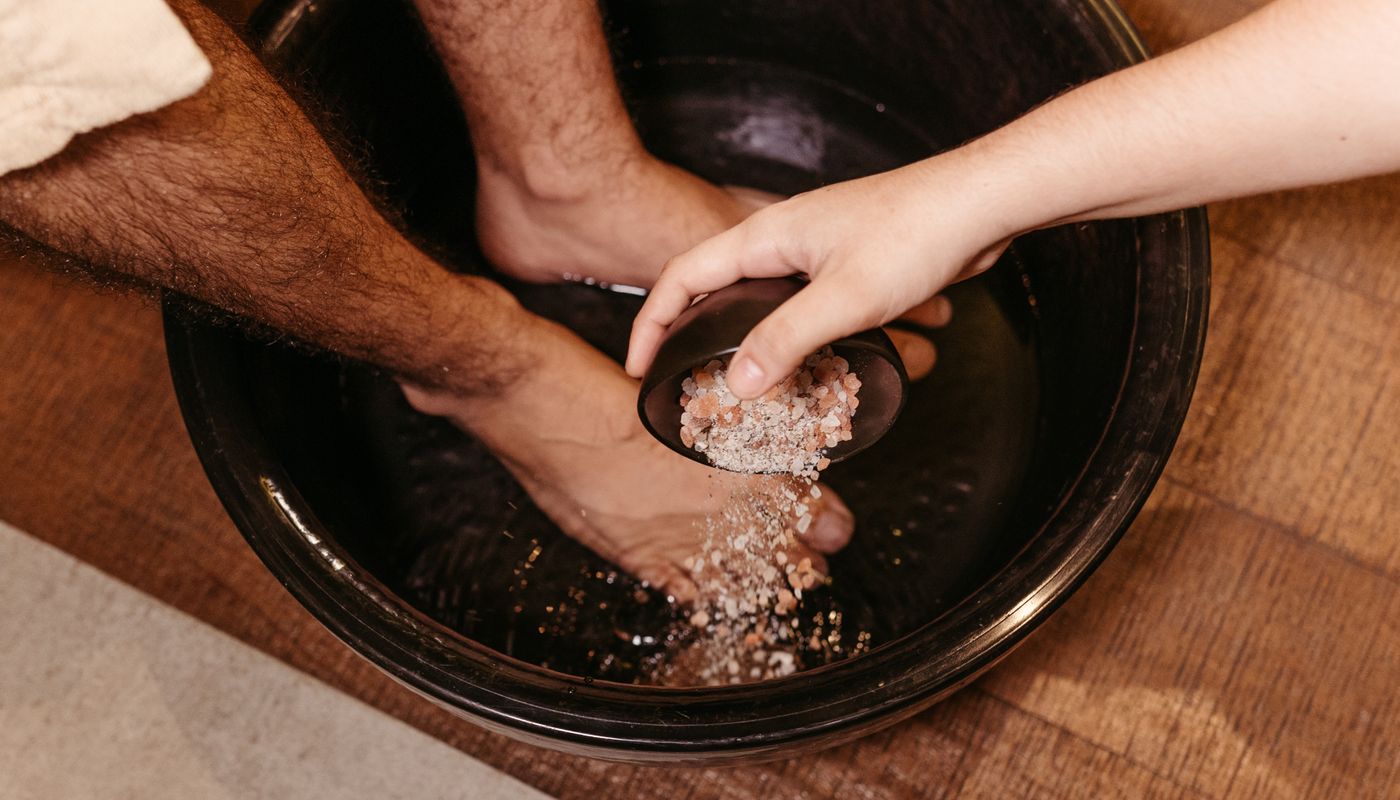
This is the nice, relaxing bit. Fill a big bowl with warm water. Not boiling, just comfortable. This is where you can chuck in stuff you have in the kitchen. For a basic soak, warm water on its own works. To really treat yourself, boomerecocrusader.com suggests a good handful of Epsom salts. They're brilliant for sore feet. A few drops of a mild shower gel works, or a glug of olive oil if your skin is really parched. You should soak for 10-15 minutes, which is what snappynails-nashville.com says. It softens everything up. Just sit back, maybe scroll your phone, this is your break.
What to put in your pedicure water
- Plain warm water: Does the job for softening skin.
- Epsom salts: A tablespoon or two helps relax sore muscles.
- Mild shower gel: Gives a gentle clean and smells nice.
- A splash of olive oil: Good for very dry skin.
Tackle hard skin and cuticles
After the soak, pat your feet dry again. The skin's all soft now, perfect for getting rid of the rough stuff. Take your foot file or pumice stone and gently go over any hard, dry patches. Usually that's the heels and the balls of your feet. Use light strokes, all in one direction. Don't go crazy, you just want the dead flaky layer off. A pumice stone is ideal for this, teenvogue.com says. Once that's done, time for cuticles. That's the thin bit of skin at the bottom of your nail. Never, ever cut it. Just use your cuticle pusher or orange stick to gently nudge it back. It neatens the nail bed right up. Any little bits of dead skin? You can carefully snip those with nippers.
Trim, file, and shape your toenails
Now your nails are soft and your cuticles look tidy. Grab your proper clippers and trim your toenails straight across. This is the most critical bit for avoiding ingrown toenails, a point bergdpm.com makes very strongly. Don't cut them too short, and for God's sake don't round the corners with the clippers. After clipping, use your file to smooth any sharp bits. You can round the corners very slightly with the file so they don't catch on your socks. What you're after is a clean, straight edge that's softly rounded. Last thing, give each nail a quick buff with the soft side of a buffer block. Just enough to make the surface smooth for polish.
Apply your nail polish correctly
This is where a lot of people mess up. The secret is thin coats and not rushing. First, wipe each nail with a bit of remover to get rid of any oils left from the soak or moisturiser. Then put on a thin layer of base coat. Makeup.com says this is what stops staining and gives the colour something to grip. Let it dry for a minute. Now your colour. Use three strokes: one down the middle, then one on each side. A thin first coat is way better than a thick, gloopy one. Wait a couple of minutes until it's tacky, then do a second thin colour coat. Finish with a top coat to seal everything in and give it shine. The biggest mistake, according to chatelaine.com, is putting the coats on too thick. They take forever to dry and smudge if you look at them.
Moisturise and set your pedicure
Once the top coat feels dry to the touch, do the last step. Get your moisturiser or a proper foot cream and massage it into your feet and lower legs. Focus on the heels and any bits that felt dry before. oprahdaily.com says this massage bit is good for circulation and feels amazing. Be careful not to get any on your painted nails though, it can make the polish streak or not set right. To let it fully cure, you should wait at least an hour before putting on socks or closed shoes. For the absolute best results, londontownusa.com says let it dry for a few hours before you go to bed. Otherwise you get sheet marks.
Avoid these common pedicure mistakes
Even when you're trying your best, a few common errors can ruin it. First, never ever skip the base coat. It's what stops bright colours turning your nails yellow. Second, don't use regular scissors or bite your toenails; always use proper clippers for a clean, straight cut. Third, like we said, don't cut your cuticles. Pushing back is safer and works just as well. Finally, don't rush the drying. Putting a second colour coat on before the first is set is the quickest way to get lumps and smudges. If you're desperate, a quick-dry top coat or a drop of cuticle oil on each nail can speed things up. But patience really is your best tool here.
Frequently asked questions
What is the best thing to soak your feet in for a pedicure?
Plain warm water is honestly fine for softening skin. If you want to add a bit extra, a handful of Epsom salts helps tired feet, boomerecocrusader.com suggests it. A few drops of a mild shower gel can be added for a gentle wash. Just don't use very hot water, it dries your skin out.
How can I do an easy pedicure at home?
Keep it simple. Take off old polish, soak your feet for ten minutes, file your nails, push back cuticles, and then put on a base coat, two thin coats of colour, and a top coat. Myfootner.co.uk says using minimal tools makes it quick and manageable.
What are common pedicure mistakes to avoid?
The main ones are clipping your toenails too short or rounding the corners, which causes ingrown nails, and painting on thick layers that chip right off. Missing the base coat, cutting your cuticles, and not letting each layer dry are other big ones that stop it lasting.
Can I use regular body lotion on my feet after a pedicure?
You could, but a dedicated foot cream is usually better. Regular lotion might not be rich enough for the thick skin on your heels and soles. Whatever you use, put it on after the polish is completely dry so it doesn't wreck the finish.
How long should I wait before putting on shoes after a pedicure?
You want to wait as long as you can to avoid smudging. For a normal polish, try to give it at least one or two hours before socks or closed shoes. For the hardest finish, wait a few hours or even do it before bed and sleep barefoot.
Is it safe to use a razor blade to remove hard skin?
No, it really isn't. Using sharp things like razor blades or callus shavers at home is risky, you can cut too deep and get an infection or just hurt yourself. Stick to a gentle foot file or pumice on damp skin. That's what most guides, including teenvogue.com, say.
The bottom line
A home pedicure is just a bit of simple self-care that keeps your feet healthy and looking nice. The main steps aren't complicated: soak, gently file off the rough skin, clip straight across, and paint with thin coats. The real trick to a professional look is patience, especially letting the coats dry in between. It's a small thing but it makes a real difference to how your feet feel and look in sandals. Best part is you can do it whenever you have a spare half hour, no appointment needed, and it doesn't cost much. Tonight, why not just fill a bowl with warm water, throw in some Epsom salts, and try it? Your feet will feel loads better.